quickstart
quickstart
How to develop
fork代码到自己的仓库(注意:不要通过下载的方式获取代码)- 新增一个分支用来开发自己的业务 比如:
business。主分支一般是master用来拉取同步最新代码(会被强制覆盖)不要开发自己的业务 - 之后通过同步拉取到的最新代码合并到自己的
business分支上
Preparation for development
vs2022 及以上 以及 vscode(开发前端用到)
vsCode 建议安装以下插件
- volar(vue3)
- vetur(vue2)
- Chinese (Simplified),
- eslint,
- i18n Ally(多语言)
- vue-component
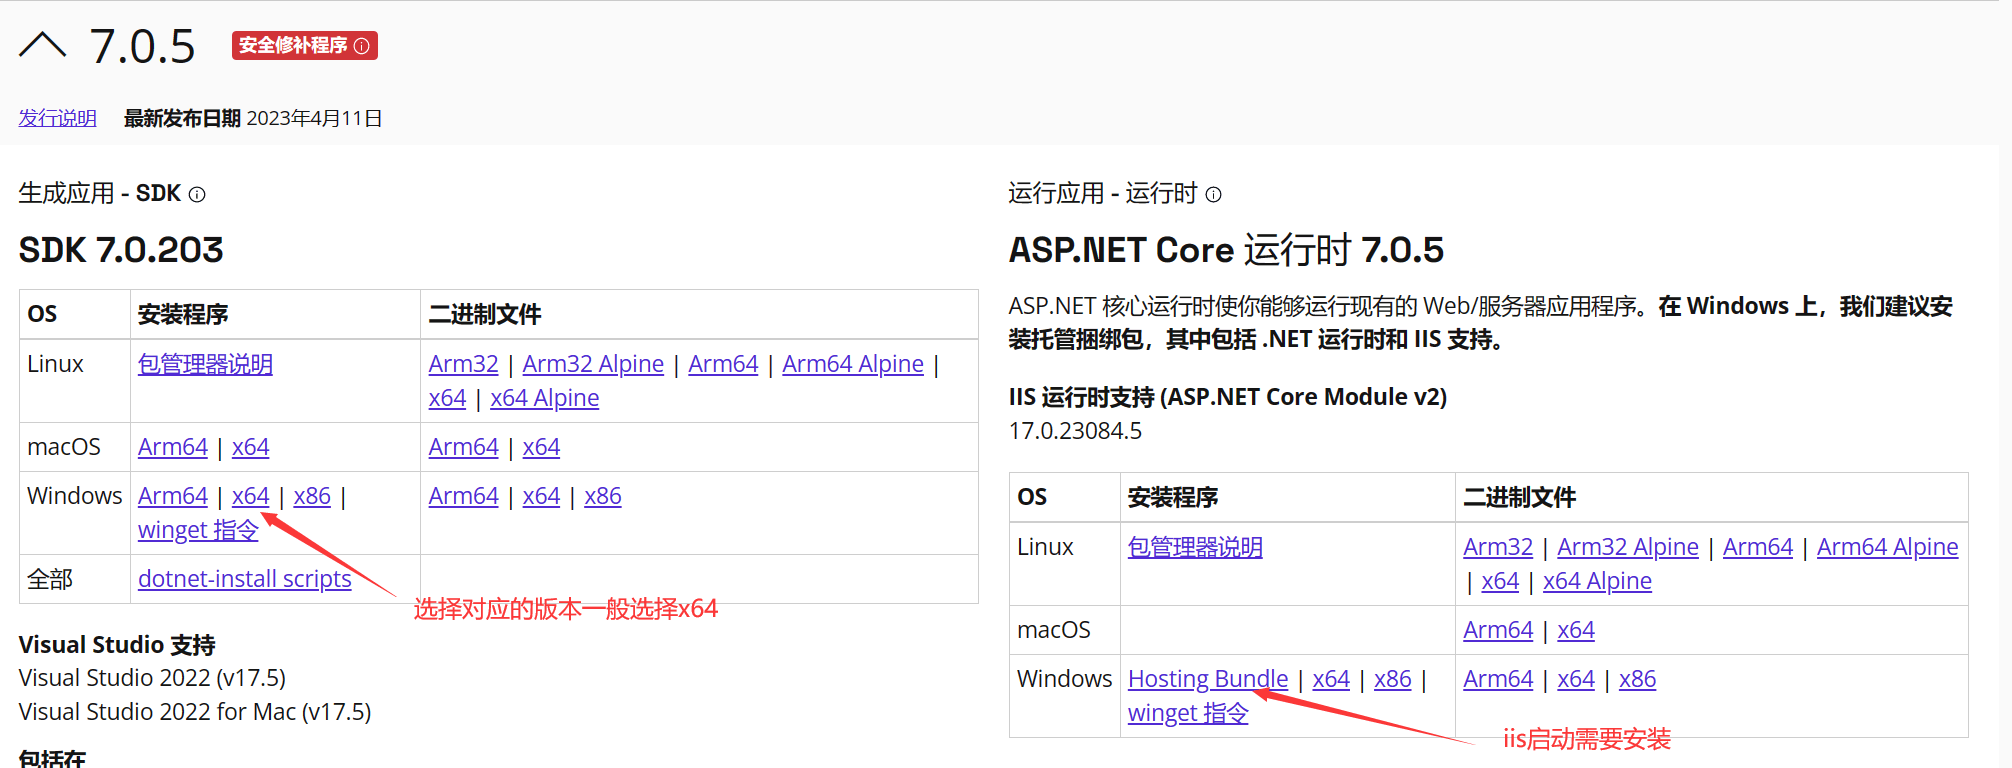
- install .netSdk https://dotnet.microsoft.com/zh-cn/download/dotnet

- db select
- MySql >= 5.7.0
- SqlServer >= 2008(推荐 2012 以上)
- Oracle
- PgSql >=15
Other databases are theoretically supported as well (database tests can be provided if needed).sqlsugar
- node environment
Node >= 16
view node version
C:\Users\admin>node -v
v16.15.0

C:\Users\admin>npm -v
9.4.1
新版本的 node 已经集成了 npm 所以不需要额外的安装
- 设置 npm 镜像地址
C:\Users\admin>	npm config set registry=https://registry.npmmirror.com

	//执行以下命令查看是否配置成功
C:\Users\admin>	npm config get registry
- install vue scaffold
npm install -g @vue/cli
warning
Because this project is separated from the front-end and back-end, both the front-end and back-end need to be started before access. After installing the node on the front-end, it is best to set up the Taobao mirror source. It is not recommended to use cnpm (strange problems may occur)
Backend startup
Pull Project
- clone
git clone https://gitee.com/izory/ZrAdminNetCore d:/zradmin/

- open project
open `ZRAdmin.sln` solution

- run project
setting `ZR.Admin.WebApi` To start the project In the project root directory run `startup.bat` to start

- Package Release
select `ZR.Admin.WebApi` Right-click the menu and click Publish
Tips
建议使用 Git克隆,因为克隆的方式可以和ZRAdmin随时保持更新同步
Create a database table
- ✨ pass
codefirstCreate database and table recommends
settings appsettings.json config file,将下面的 false 设置为 true,然后重新启动程序既可自动创建数据库表,创建好后修改成fasle
{
  "InitDb": true //是否初始化db
}
- change
appsettings.jsonconfig file
"dbConfigs": [
	// 业务库
	{
		"Conn": "Data Source=LAPTOP-STKF2M8H\\SQLEXPRESS;User ID=admin;Password=admin123;Initial Catalog=ZrAdmin;",
		"DbType": 1, //数据库类型 MySql = 0, SqlServer = 1, Oracle = 3,PgSql = 4
		"ConfigId": "0",//
		"IsAutoCloseConnection": true //是否自动释放
	},
	//...下面添加更多的数据库源
],
"urls": "http://localhost:8888", //项目启动url,如果改动端口前端对应devServer也需要进行修改
- Database connection string format reference
// System built-in `mysql` driver does not need to be installed
Data Source=localhost;port=3306;User ID=admin;Password=zradmin123;Database=ZrAdmin;CharSet=utf8;sslmode=none;

// Code generation string
Data Source=localhost;port=3306;User ID=admin;Password=zradmin123;Database={dbName};CharSet=utf8;sslmode=none;
// 不需要安装驱动,可移除内置mysql驱动
Data Source=localhost;Initial Catalog=ZrAdmin;User ID=admin;Password=zradmin123;

// 代码生成字符串
Data Source=localhost;Initial Catalog={dbName};User ID=admin;Password=zradmin123;
// 需要自行安装驱动:Oracle.ManagedDataAccess.Core
data source = localhost/orcl;user id= ZrAdmin; password=zradmin123;persist security info=false

// 代码生成字符串
data source = localhost/orcl;user id= {dbName}; password=zradmin123;persist security info=false
// 需要自行安装驱动:Npgsql
HOST=localhost;PORT=5342;DATABASE=ZrAdmin;USERID=xxx;PASSWORD=zradmin123;

// 代码生成字符串
HOST=localhost;PORT=5342;DATABASE={dbName};USERID=xxx;PASSWORD=zradmin123;
[View supported databases](https://www.donet5.com/home/doc)
Tips
- 系统已内置 mysql 库的驱动
MySqlConnector,如果是其他库,将项目里面所有类库里面的MySqlConnector驱动进行替换 - 或者 将所有
SqlSugarCoreNoDrive驱动替换成SqlSugarCore,这个包包含了所有的数据库驱动,不需要在进行单独的安装数据库驱动
- 启动成功会出现以下内容,如果启动失败请查看项目目录
admninLogs文件夹日志

后端运行成功可以通过http://localhost:8888访问,但是不会出现静态页面,可以继续参考下面步骤部署前端,然后通过前端地址来访问。建议不要修改启动端口地址
Tips
如果 ORM 连接不上数据库,请看这里https://www.donet5.com/home/doc?masterId=1&typeId=1218
Initialize seed data
- 通过接口导入,支持所有库推荐 后端启动成功后访问接口地址
http://localhost:8888/common/initseedData即可初始化数据
Warning
一定要是本地开发环境上执行,发布部署到服务器上之后此接口不通
Front-end startup
请确保你已经安装了 node 环境
注意
前端代码路径不能有特殊符号、空格之类 ,比如C#,这样启动会出现问题
# 进入项目目录
cd ZR.Vue

# 安装依赖
npm install

# 本地开发 启动项目
npm run dev
# 克隆代码
git clone https://gitee.com/izory/ZRAdmin-vue.git

# 进入项目目录
cd ZRAdmin-vue

# 安装依赖
npm install

# 启动服务
npm run dev

# 构建测试环境 npm build:stage
# 构建生产环境 npm build:prod
# 前端访问地址 http://localhost:8887

# 如果使用yarn构建 安装 npm install yarn
starting program
- 启动成功后会自动打开浏览器,如果没自动打开手动在浏览器中输入:
http://localhost:8887若能正确展示登录页面,并能成功登录,菜单及页面展示正常,则表明环境搭建成功
Default account password
- 管理员账户/密码
admin/123456 - 普通用户
user/123456
Deployment System
- nginx Configuration reference
server {
	#修改要监听的端口
	listen 80;
	#修改要绑定的域名或IP地址
 	server_name 域名/外网IP;

	# charset koi8-r;
	# access_log  logs/logs.access.log  main;

	# vue项目配置
	location / {
		#linux 路径
		root html/zradmin/dist;
		index index.html;
		try_files $uri $uri/ /index.html;
	}

	# 后端接口
	# 正式环境对应前端打包运行命令 npm run build:prod
	location /prod-api/ {
		proxy_pass  http://localhost:8888/;

		# 后端的Web服务器可以通过X-Forwarded-For获取用户真实IP
		proxy_set_header Host $host;
		proxy_set_header X-Real-IP $remote_addr;
		proxy_set_header X-Forwarded-For $proxy_add_x_forwarded_for;
 	 }

	# signalR(websocket)
	location ~* ^/msgHub {
		proxy_pass  http://localhost:8888;   #注意后面没有/
		#后端的Web服务器可以通过X-Forwarded-For获取用户真实IP
		proxy_set_header Host $host;
		proxy_set_header X-Real-IP $remote_addr;
		proxy_set_header X-Forwarded-For $proxy_add_x_forwarded_for;
		#启用http长连接支持websocket
		proxy_http_version 1.1;
		proxy_set_header Upgrade $http_upgrade;
		proxy_set_header Connection "upgrade";
	}
}
npm Configuration (optional)
node 安装过程:略 这里将 node 安装到 D:\nodejs 目录
先配置 npm 的全局模块的存放路径以及cache路径 具体方法:在 d:\nodejs 目录新建 node_cache、node_global 两个文件夹
- 启动 cmd,然后执行以下 2 个命令
npm config set prefix "D:\nodejs\node_global"
npm config set cache "D:\nodejs\node_cache"
- 如果要看是否设置成功,可在 cmd 里输入如下命令查看
npm config get prefix
//如果输出 D:\nodejs\node_global表示成功
npm config get cache
//将会输出 D:\nodejs\node_cache
最后,我们要修改系统环境变量(“此电脑--右键--属性--高级系统设置---环境变量”)。首先在 用户变量 里新建一个变量
NODE_PATH,值为安装 nodejs 文件夹下的node_modules,即:D:\nodejs\node_modules然后,在系统变量的 Path 变量里添加
node_global,新建将D:\nodejs\node_global粘贴进去
delete node_modules
- 利用 npm 包 rimraf 快速删除
node_modules文件夹
先全局安装 npm 包
npm install rimraf -g
rimraf node_modules
